

OBS Audio Panning Fix: Multi-Track Recording Solutions
Learn how to fix OBS Audio Panning issues and master multi-track recording. Separate your left and right channels easily with these proven audio settings.
Quick Answer
- Separate left and right channels by assigning the same device to two inputs and fading them in opposite directions within Advanced Audio Properties.
- The Audio Pan Filter plugin can be used to independently adjust stereo pan and volume for left and right channels.
- Record multi-track audio to MKV format, as direct MP4 recording can flatten tracks or corrupt files during a crash.
- If audio only plays in one ear, uncheck the “Mono” setting in the Advanced Audio Preferences.
How OBS Handles Audio and Multi-Track Recording
Before you hit record or go live, you need to understand exactly how Open Broadcaster Software processes the sound coming from your microphone, desktop, and other inputs. By default, OBS takes a very straightforward approach: it blends all active audio sources into a single stereo stream before writing it to disk. This means that if you do not configure your routing intentionally, your final video file will have every sound permanently glued together.
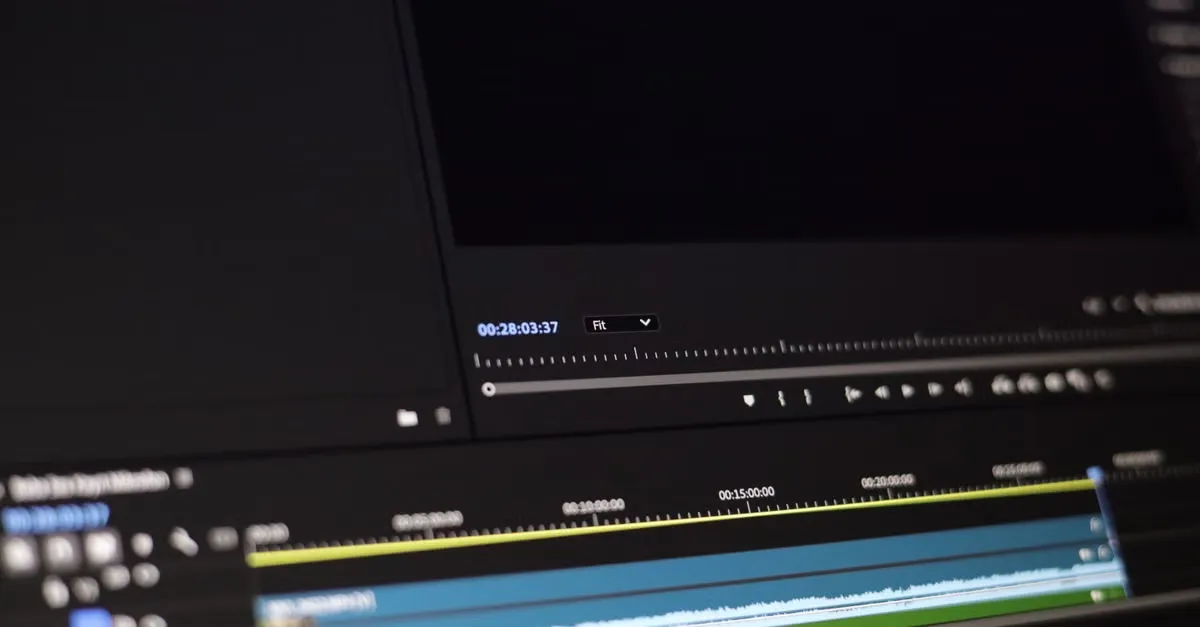
To ensure this initial processing happens smoothly, you need the right baseline configuration. The recommended OBS audio settings are a sample rate of 44.1 kHz and Stereo as the channel under the General section. Establishing this foundation ensures that when OBS blends your sources, the resulting stereo file maintains consistent timing and quality. A stable sample rate is especially critical if you plan to Sync External Audio to an Edited Premiere Pro Timeline later, as mismatches can cause severe audio drift over long recordings.
When you dive into the routing system, OBS supports up to six audio tracks in recording mode. Understanding how to divide your audio across these tracks dictates how much control you have during post-production. The most critical component of this system is your primary mix. Track 1 is the master mix that receives all active audio sources blended together. This specific routing is a hard requirement for broadcasting because streaming platforms like Twitch and YouTube use only Track 1. They receive a single blended audio stream, meaning your live audience will only ever hear the combined mix sent down this primary channel.
OBS Track Capabilities
| Track Designation | Audio Function |
|---|---|
| Track 1 | Master mix that receives all active audio sources blended together |
| Tracks 2 through 6 | Dedicated source tracks that can be assigned to a single audio source |
While Track 1 handles your live broadcast, the remaining tracks give you complete flexibility when saving local files. Tracks 2 through 6 are dedicated source tracks that can be assigned to a single audio source. Instead of baking your voice, your gameplay, and your external audio into one permanent file, you can isolate them.
For example, you might send your raw microphone input entirely to Track 2. This isolation makes it much easier to process your voice later, whether you are trying to match specific OBS Mic EQ Settings for Female Voices: Complete Guide or simply turning down a loud shout. You could then assign your game audio to Track 3, and your VoIP chat to Track 4. By isolating sources to these dedicated tracks, you protect your content from sudden volume overlaps. As long as you maintain Track 1 as the comprehensive master mix for your live viewers, you can fully utilize the remaining five tracks to capture clean, separated audio for your final edits.
Setting Up Multi-Track Audio and Safe File Formats
Recording your microphone, game sounds, and background music on a single, flattened track severely limits your options during the video editing process. By keeping these elements separated, you gain total control over volume levels and noise reduction long after the recording session ends.
Separate audio tracks are enabled by changing the Output Mode to Advanced. Once you have made this switch, proceed by clicking the Recording tab. You activate this feature by checking the Audio Track checkboxes labeled 1 through 6. This establishes the foundation for your multi-track layout, providing up to six distinct lanes of audio.
Enabling these tracks does not automatically assign your audio sources to them. Audio sources are routed to specific tracks by opening Advanced Audio Properties. Inside this menu, you will see a grid mapping your active hardware and software audio. You assign these sources by checking the corresponding track numbers next to each active source. For instance, if you recently perfected your microphone sound using OBS Mic EQ Settings for Female Voices: Complete Guide, you will want to route that microphone to an isolated track by checking only the corresponding number box in its row.
Once your routing is configured, you must choose a secure file format. Many creators mistakenly default to MP4 for its immediate compatibility, but recording directly to MP4 introduces significant vulnerabilities. Most importantly, it risks file corruption if OBS crashes or loses power before the file is finalized. Furthermore, recording directly to MP4 can cause extra audio tracks to be dropped or flattened, completely undermining your isolated audio configuration.
To protect your recordings, use the MKV format instead. Multi-track audio data is preserved perfectly in MKV files, acting as a crash-proof vault for your separated layers. To get that footage into your editing software, rely on MP4 files created through OBS’s Remux tool. Remuxing safely repackages the MKV into an editor-friendly MP4 without risking data loss. If you experience unexpected playback issues later in your post-production workflow, resources like Fix Premiere Pro MP4 Export Black Screen With Audio can help troubleshoot the timeline.
After remuxing, you might panic when reviewing the raw footage on your desktop. Standard video players will only play back one audio track at a time. When you open the file in a basic media player, you might hear only your game audio and mistakenly assume your microphone track is missing. The extra audio data remains fully intact and will appear as distinct, editable layers as soon as you import the video file into professional editing software.
Solving Audio Panning: Left and Right Channel Separation
When routing an external hardware mixer or a dual-microphone audio interface into your broadcasting software, you will frequently encounter a scenario where the system combines two distinct analog inputs into a single stereo digital feed. One microphone maps exclusively to the left channel, while the other maps exclusively to the right. To control these sources properly, you need a reliable method to isolate them.
You can achieve this channel separation natively by routing the audio manually. Open your Audio Settings and assign the exact same physical hardware device to both Mic/Aux 1 and Mic/Aux 2. Next, navigate to your Advanced Audio Properties menu. Locate the panning controls and fade Mic/Aux 1 completely to the left, then fade Mic/Aux 2 completely to the right. This configuration forces the software to treat each side of your hardware interface as an independent track. From here, you can apply distinct compression or EQ profiles to each channel, which is crucial if you are relying on specific OBS Mic EQ Settings for Female Voices: Complete Guide for one host while using entirely different parameters for a co-host.
While effective, duplicating inputs consumes valuable real estate in your visual audio mixer. A cleaner alternative is the Audio Pan Filter 0.2.3. This dedicated 64-bit plugin grants you the ability to adjust the stereo pan and the independent volumes of your left and right channels separately, all within a single source track.
Audio Pan Filter Compatibility & Requirements
| Feature | Specification |
|---|---|
| Plugin Version | 0.2.3 |
| Architecture | 64-bit |
| Supported Operating Systems | Windows, macOS, Linux |
| Functionality | Adjust stereo pan and volumes of left and right channels separately |
| Minimum OBS Studio Version | 27.0.0 |
| Source Requirements | Exclusively stereo sources |
| Filter Selection Name | Stereo Pan |
| Troubleshooting Panning & Latency | Disable Windows audio enhancements |
| Cost / Price | — |
| File Size | — |
If you choose the plugin route, note that the Audio Pan Filter requires a minimum OBS Studio Version of 27.0.0. It offers broad ecosystem support, operating natively across Windows, macOS, and Linux environments. However, it is designed with a strict input limitation: the tool works exclusively with stereo sources.
Applying the plugin requires a quick adjustment in your settings. Select your target stereo track and open the audio source filter window. Click the + button at the bottom of the active filters list and select Stereo Pan. Once activated, the interface presents dedicated sliders for left and right volume and panning. By isolating the channels at the source level, you generate clean, separated audio files. Managing this separation correctly during the live recording phase eliminates massive workflow bottlenecks, particularly when you need to Sync External Audio to an Edited Premiere Pro Timeline later in post-production.
Troubleshooting Audio Panning and Mono Issues
Nothing compromises a professional broadcast or recorded video faster than audio that isolates to a single speaker. When viewers tune in wearing headphones, hearing your voice strictly in their left or right ear creates an immediate, physically uncomfortable listening experience. This routing mismatch happens frequently during initial setup, but resolving it requires just a quick adjustment within your audio routing matrix.
If your microphone or input source is currently playing in only one ear, the solution lies in your channel configuration. Navigate directly to your Advanced Audio Preferences. Find the specific audio source that is failing to center properly. To fix this single-channel isolation, you simply need to locate the column for channel downmixing and correct it by unchecking the box under the word “Mono” for that source. Taking this exact step forces the software to handle the audio routing correctly, restoring a balanced, centered sound for your audience. Establishing this clean, centered capture is a necessary first step before applying further vocal processing, such as dialing in OBS Mic EQ Settings for Female Voices: Complete Guide.
While fixing single-ear audio solves microphone problems, desktop audio sources introduce entirely different challenges. You may experience situations where your application sound shifts unpredictably between the left and right channels. This specific problem is closely tied to the Application Audio Capture feature within OBS. Instead of a stable stereo image, the audio pans strangely. Alongside this erratic panning, you will often experience noticeable sound latency, causing the captured game or application audio to fall completely out of sync with the visual elements on screen.
When Application Audio Capture is panning audio strangely and creating latency, your streaming software is not actually malfunctioning. The interference comes directly from the operating system. To fix both the panning issues and the sound latency in OBS, you must step outside of your broadcasting interface and disable Windows audio enhancements in the Windows audio settings.
Operating systems frequently apply these audio enhancements by default to artificially widen the stereo field or boost bass for standard desktop speakers. However, this background processing severely disrupts the direct audio feed OBS attempts to grab. By navigating to your Windows audio settings and completely disabling Windows audio enhancements for your playback device, you bypass this artificial manipulation.
Supplying a completely uncolored, raw signal to your capture software immediately stabilizes the stereo panning and removes the processing delay that causes audio lag. This ensures your final recordings are perfectly timed, saving you from frustrating alignment issues if you ever need to Sync External Audio to an Edited Premiere Pro Timeline during post-production.
Audio Mixing Best Practices and Additional Considerations
Audio quality dictates audience retention more than any other technical element of a live broadcast. Viewers will often tolerate a slightly pixelated webcam or a temporary frame drop, but harsh, distorted, or painfully quiet sound will cause them to click away instantly. Achieving professional sound requires careful attention to your software levels before you ever press the broadcast button.
When monitoring your setup, pay close attention to the visual meters in your streaming software. To maintain a crisp, professional sound without risking distortion, your microphone input and output levels in the OBS audio mixer should peak at -3 db. Keeping your voice strictly in this range guarantees you are loud enough to be heard clearly over gameplay or background music, while preserving a vital sliver of headroom for unexpected volume bumps.
Controlling your exact vocal volume during an energetic stream is practically impossible. Jump scares, exciting victories, or sudden bursts of laughter will naturally spike your microphone input. To protect your audience from these aggressive spikes, you need an automated safety net. A Limiter filter acts as an absolute volume ceiling, stopping any signal from crossing a defined threshold. Setting this threshold to -3 db will reliably prevent blown-out audio. It acts instantly, compressing the loudest parts of your reaction so the output remains smooth and listenable. Once your volume is securely managed, shaping your tone is the next step. Creators looking to refine their specific vocal frequencies can reference an OBS Mic EQ Settings for Female Voices: Complete Guide to build a richer broadcast profile.
Beyond volume management, creators frequently battle timing discrepancies. There is nothing more distracting to a viewer than watching a streamer’s lips move a fraction of a second before the words actually play through their speakers. These audio and video sync issues happen due to processing delays between different pieces of hardware, like USB microphones and HDMI capture cards. Fortunately, you can adjust this directly within your software. Simply open the Advanced Audio Properties and enter 220 in the sync offset window. This adjustment forces the audio track to wait exactly the right amount of time, locking your voice and camera feed back into perfect alignment.
Establishing these habits ensures your live broadcast feels polished and keeps your raw recordings pristine. If your stream audio is properly limited and synced from the start, repurposing those VODs requires far less effort. Even if you choose to record dual-track audio on separate devices, which requires you to [Sync External Audio to an Edited Premiere Pro Timeline](https://zqstream.com/blog/video-editing/sync-
References
About the author
The ZQStream Team
Writes long-form essays on Live Streaming Tips, Video Editing Tutorials, Content Creator Gear, Software Tutorials, and Audience Growth Strategies and related topics. Curated by the editorial team behind ZQStream.
Read more
YouTube Zero Impressions: Packaging vs. Distribution
How to Sync AI Voiceovers with Gameplay in Video Editing
Keep reading
Related Articles