

Fix DaVinci Resolve Audio Sounding Different After Export
Why does audio sound flat or distorted after exporting from DaVinci Resolve? Here is how to fix clicks, compression artefacts, and export mismatches.
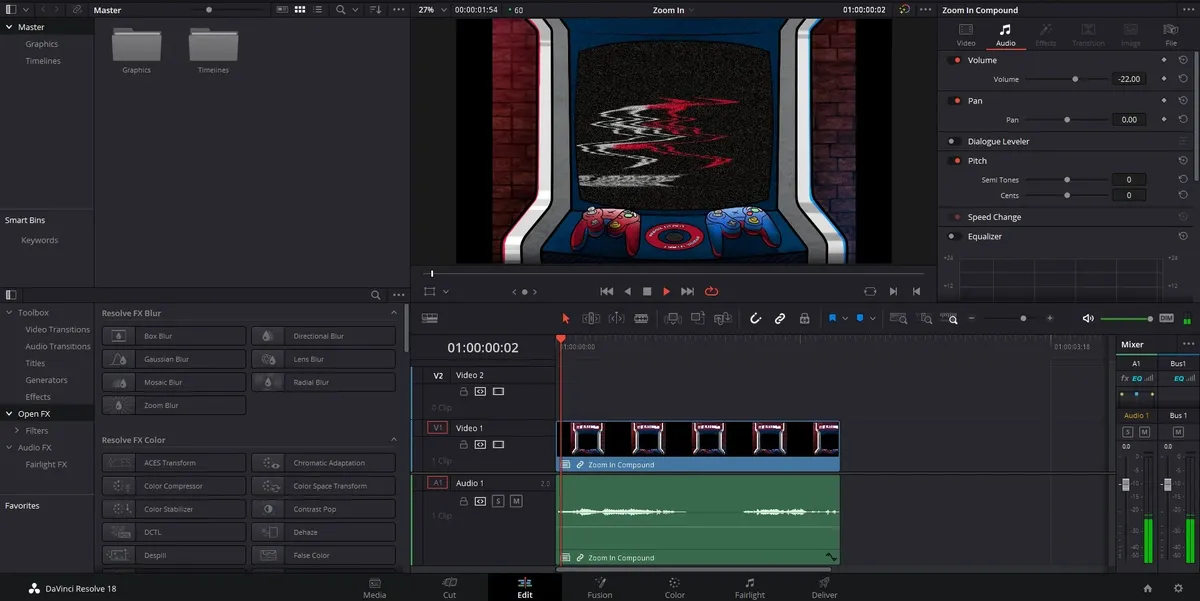
Most editors assume that if their dialogue, sound effects, and music mix sound balanced inside DaVinci Resolve’s timeline, the exported video file will sound identical. When the final render comes out sounding thin, compressed, or peppered with micro-clicks, the immediate reaction is usually to blame QuickTime, VLC, or cheap headphones.
That assumption is almost always wrong.
What you hear during real-time timeline preview isn’t guaranteed to match what the export engine generates. Timeline playback prioritizes real-time performance, often smoothing over underlying system strain. But when you start a batch render, DaVinci Resolve processes video effects, audio sub-mixes, and file conversions simultaneously under heavy system load. When processing overhead spikes, your audio quality suffers.
Why Timeline Audio Mismatches Your Master Export
Understanding why exported audio degrades requires looking at how DaVinci Resolve handles system resources during rendering.
On-the-Fly Audio File Conversion
If your project timeline uses MP3, AAC, or other non-WAV media formats, your system is working harder than you think. DaVinci Resolve uses processing power to convert non-WAV audio files into WAVs on the fly during editing.
While you cut video, your CPU handles this conversion quietly in the background. However, during export, your machine attempts to decode non-native audio formats, compute video transitions, apply color grades, and encode the final file all at once. This dynamic on-the-fly conversion under heavy export strain creates hidden bottlenecks.
Fairlight Processing Overhead
Fairlight offers robust mixing capabilities, but complex plugin chains come at a cost. Using third-party audio presets in Fairlight increases rendering time and processing load.
When your processor gets bogged down computing heavy audio filters on every frame alongside video rendering, the audio stream drops packets or struggles to calculate amplitude peaks correctly. The result? Audio exports can sound flat with compression-like artefacting at the edges even when your source files do not have these problems.
Phantom Clicks That Move Between Renders
One of the most frustrating export issues is hearing distinct digital clicks in your exported audio that were completely absent during timeline preview.
Even worse, if you re-render the exact same timeline without changing a single setting, those clicks often jump to completely different timestamps in the new file. Audio exports can develop audible clicks that are not present in the timeline, appearing in different spots with each re-render. These pops are not permanent flaws in your recording—they are processing glitches caused by momentary hardware stutter during export.
Process Audio Externally Before Importing
To prevent audio processing bottlenecks entirely, change how you handle raw audio before building your timeline.
As highlighted in technical workflows shared by audio specialist Michele Ong, processing audio in a standalone app (like RX) and exporting as WAV before importing into DaVinci Resolve is recommended to avoid processing issues.
When you feed Resolve pre-rendered 24-bit WAV files, you eliminate the hardware tax of real-time format conversion. The software no longer needs to convert compressed audio streams on the fly while encoding video. If you rely on specialized noise reduction or equalization, apply those treatments in a dedicated audio editor first, export a clean uncompressed WAV, and drop that file into Fairlight.
Lock In Export Settings to Eliminate Flattened Sound
Default delivery presets do not always protect your audio dynamics. If your master export sounds muffled or squeezed compared to your timeline mix, your export bit depth is likely throttling your audio headroom.
To ensure your exported file retains full dynamic range, navigate to the Audio tab on the Deliver page (refer to official documentation for exact panel layouts) and verify these recommended audio export settings:
- Format: QuickTime
- Codec: LinearPCM
- Sample Rate: 48000
- Bit Depth: 24
Pay special attention to bit depth. Using an export Bit depth lower than 24 results in flat compression issues. Exporting at 24-bit LinearPCM gives your project the bit depth required to preserve crisp highs, deep lows, and original dynamic range without subtle edge artefacts.
Throttle Render Speed to Stop Audio Clicks
If your settings are correct and your source files are uncompressed WAVs, but you still encounter random clicks in your renders, your system is rendering faster than your hardware can reliably compute audio frames.
Slowing down the render speed helps fix audio clicks and artefacting problems in exports. By throttling how fast Resolve encodes video frames, you free up immediate CPU and GPU bandwidth, allowing the audio engine to keep pace without dropping samples.
Your optimal render speed setting depends on whether you run the free or paid edition of DaVinci Resolve:
- Free Version of DaVinci Resolve (CPU Rendering): The free edition relies heavily on your system processor for rendering tasks. On the free version of DaVinci Resolve using CPU rendering, setting the render speed to 50 removes audio clicks.
- DaVinci Resolve Studio (GPU Rendering): The paid Studio version offloads rendering pipeline tasks to your dedicated graphics card. On the paid DaVinci Resolve Studio using a graphics card, setting the render speed to 75 removes audio clicks.
To adjust this setting, head to the Deliver page, open the Video tab, locate the Render Speed drop-down (refer to official documentation for exact menu navigation), and drop the speed down from maximum capacity to 50 or 75 based on your license.
Next Steps for Your Current Edit
Open the project you are currently working on and head straight to the Deliver page. Adjust your export format to QuickTime LinearPCM at 24-bit depth, and cap your render speed limit at 50 or 75 before queueing your next export.
About the author
The ZQStream Team
Writes long-form essays on Live Streaming Tips, Video Editing Tutorials, Content Creator Gear, Software Tutorials, and Audience Growth Strategies and related topics. Curated by the editorial team behind ZQStream.
Read more
Is Merged Chat Allowed on Twitch Simulcast? Rules Explained
NVIDIA RTX 50 Series 4:2:2 Decode Tested: Can You Ditch Proxies?
Keep reading
Related Articles